Create a course
Courses are the unit Scholiq plans, teaches and grades against. Everything else — enrolments, assignments, assessments, attendance, certificates — hangs off a course.
Goal
By the end you will have a course in the Courses list with a title, a description and a date range, ready for the next step: enrolling students.
Prerequisites
- You completed Open Scholiq for the first time.
- Your account has the role Teacher or Coordinator (an admin sets this in Manage Scholiq settings).
- A programme to attach the course to (optional — courses can stand alone, but they slot more cleanly into reports when they sit under a programme). See Define your school structure.
Steps
-
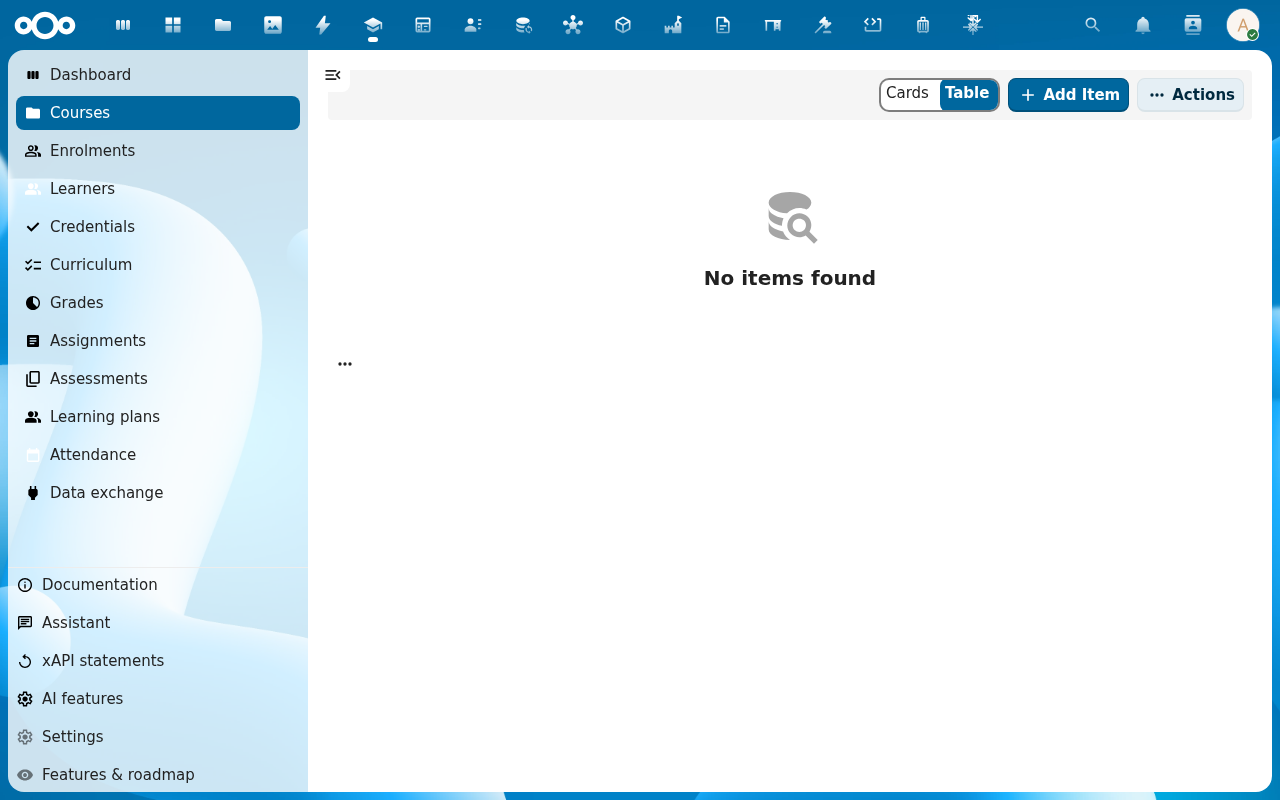
Open Scholiq and click Courses in the left navigation.

-
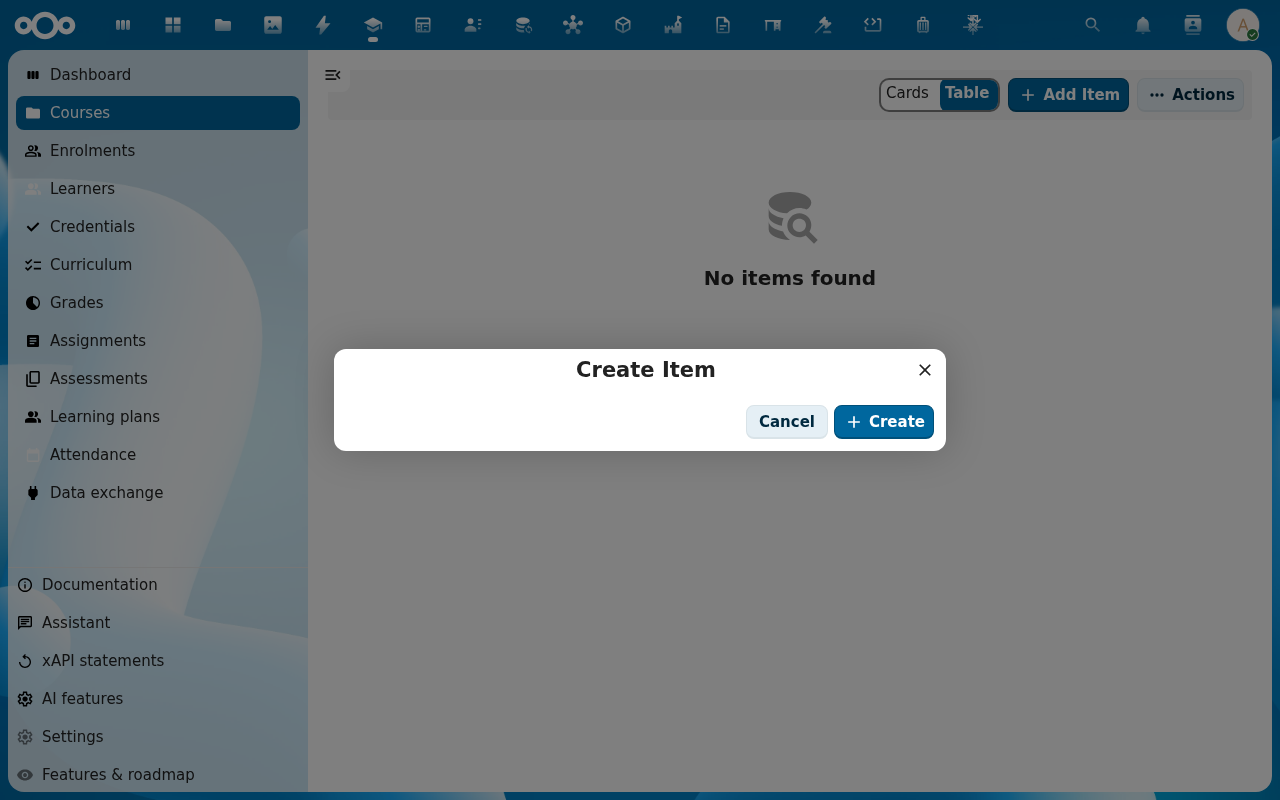
Click Add Item. A dialog opens showing the course schema fields (title, code, description, programme, start, end, status).

-
Fill in Title, Code and a short Description. Pick a Start and End date — Scholiq uses these to drive enrolment validity, attendance windows and certificate dates. Set Status to Open if you want enrolments to start immediately; leave it on Draft otherwise.
-
Click Save. The dialog closes and the new course appears in the Courses list.
-
Click the course row to open its detail page. The tabs across the top (Overview, Lessons, Enrolments, Assignments, Assessments, Grades, Attendance, Logs) are the workspace for everything else this guide covers.

Verification
The course is created when: it shows up in the Courses list with the title and status you set, and its detail page opens to Overview with no banner errors.
Common issues
| Symptom | Fix |
|---|---|
| Add Item opens an empty dialog with no fields | The Scholiq register is not fully imported — an admin re-runs Settings → Registers → Re-import configuration. |
| Saving the course returns "end must be after start" | The end date is on or before the start date — pick an end at least one day later. |
| The new course is missing from the list after save | The list does not auto-refresh on every Nextcloud version — reload the page, or switch to the Table view and back. |
Reference
- Enrol students — the natural next step.
- Define your school structure — programmes and cohorts the course can sit under.